
Whether you’re just starting out in the mobile bar industry, need a perfect gift for an aspiring Bartender, or you want to set-up an elevated at-home bar while entertaining guests, you will need the right tools to craft the perfect cocktail. Although the ingredients play a large role in the cocktail taste and quality – if you don’t have the proper tools, even a beverage with the best ingredients will fall flat.
On top of all of that, they just make your job easier – and no matter if you’re entertaining a group of friends, or you’re working a wedding, you don’t want to be unprepared, stressed out, or look like an amateur.
Pro Tip: Although a deliciously balanced cocktail is the goal, a guest is almost always going to remember the quality of service and also how you made them feel over anything they drank – so be confident in your skills and have the proper tools will help you seem like a seasoned pro (even if you’re not quite there yet).
PERSONAL NOTE: We’ve included links to some tools we love, but it’s all about finding your best option that fits your budget, your preferences, or your needs. By using our shop links, it helps support our blog with affiliate commissions, but does NOT affect our tool recommendations (we wouldn’t recommend something we don’t stand behind) – so thank you in advance for your purchase.
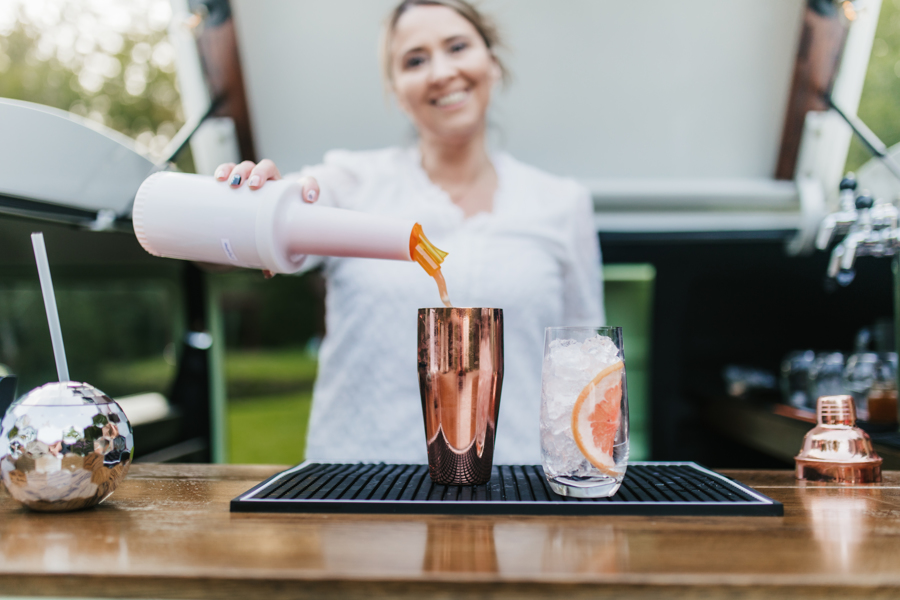
Double Tin Boston Shaker:

One of the most used tools in the bar world for mixing and shaking up cocktails. This should be your first buy when stocking the tools for your bar. A quality Boston Shaker is essential and once you get the hang of it, you’ll be shaking, straining, and pouring like a professional.
NOTE: We will always prefer the Double Tin Boston Shakers over a Cobbler Shaker for their versatility and functionality. Cobbler Shakers often are hard to open once the metal gets cold, they’re harder to clean at the end of the day and between shakes. With a Double Tin Boston Shaker, they seal easily, and can come apart with a strategic tap, and just need a quick rinse.
We prefer the high-quality Koriko Weighted Shaking Tin Set (requires Large and Small – sometimes sold separately) but the more affordable set (that comes with both the large and small tin) by BarFly, A Bar Above, or any other brand you prefer work just fine.
Shop Double Tin Boston Shakers HERE.
Hawthorne Strainer:

A reliable Hawthorne strainer is a Bartender’s ally and is perfect for straining a shaken cocktail, ensuring a smooth pour while keeping unwanted elements out of your drink. Once you “crack the seal” on the tin, you’re almost always going to need a strainer to prevent any unwanted mixing ice, fruit, or herbs from making their way into the cocktail. Easy to use, just place it on the rim of either tin, and pour the mix into a glass while it keeps the unwanted ingredients out.
Again, we prefer the high-quality Koriko Hawthorne Strainer because we use them so often, but again, any brand works just fine here if you want to cost down.
Shop Hawthorne Strainers HERE.
Citrus Juicer:
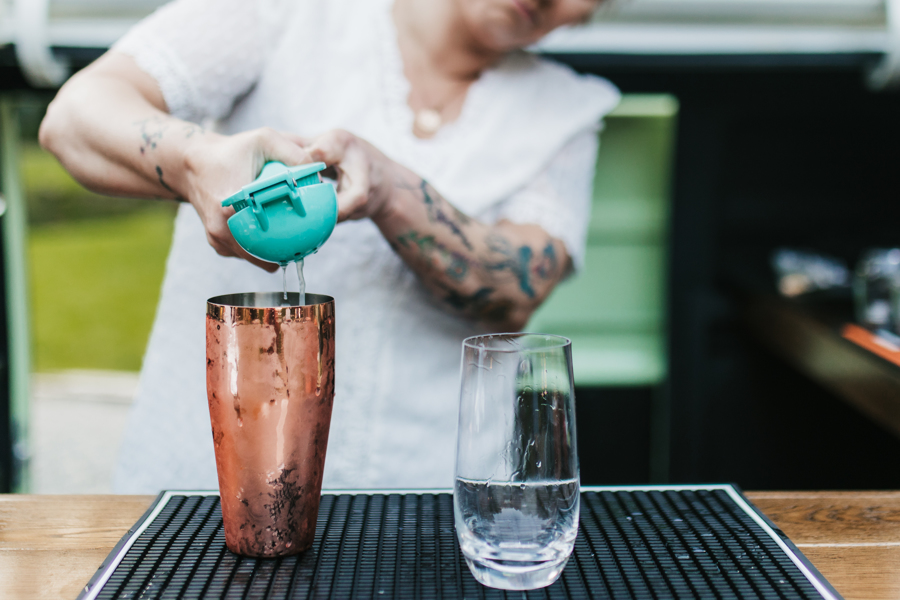
Fresh juice will dramatically improve the flavor of any cocktail. Sometimes even more than the spirits themselves. So find a juicer that fits your budget, available space, and your preferences.
We recommend one of three options; the standard hand-held citrus press ($10), the manual juicer with reservoir and pour spout ($30), or the Hamilton Beach 932 Commercial Citrus Juicer ($230)
If you’re just needing to squeeze a few lemons or limes, a hand-held press is just fine. If you want a little more “oomph” with a built-in reservoir or will be juicing larger oranges or grapefruit halves, a large manual juicer with a pour spout might work better for you. However, if you will be pumping out juice all night or will be hosting a large event, we cannot recommend the Hamilton Beach 932 Commercial Citrus Juicer enough. With the added force, every last drop of juice with extract with ease, and the swing action arm reduces fatigue of pressing over and over.
Shop Citrus Juicers HERE.
Bar Mat:
Nothing is worse than a sticky bar top for you or the person you’re serving. A bar mat will catch any small drops or spills and prevent a sloppy and untidy bar area. There are a variety of sizes available, but we typically like the larger 12″x18″ Service Mat sizes for their versatility – but any that fits your space and budget is just fine.
Bar Mats are typically very cheap, but you can always have them customized if you want to include your name or a branded logo.
Shop Bar Mats HERE.
Shop the Kitsap Bartending Services Amazon storefront for complete Bar Tool Kits, more Mobile Bartending Supplies, and more Books!
Muddler:
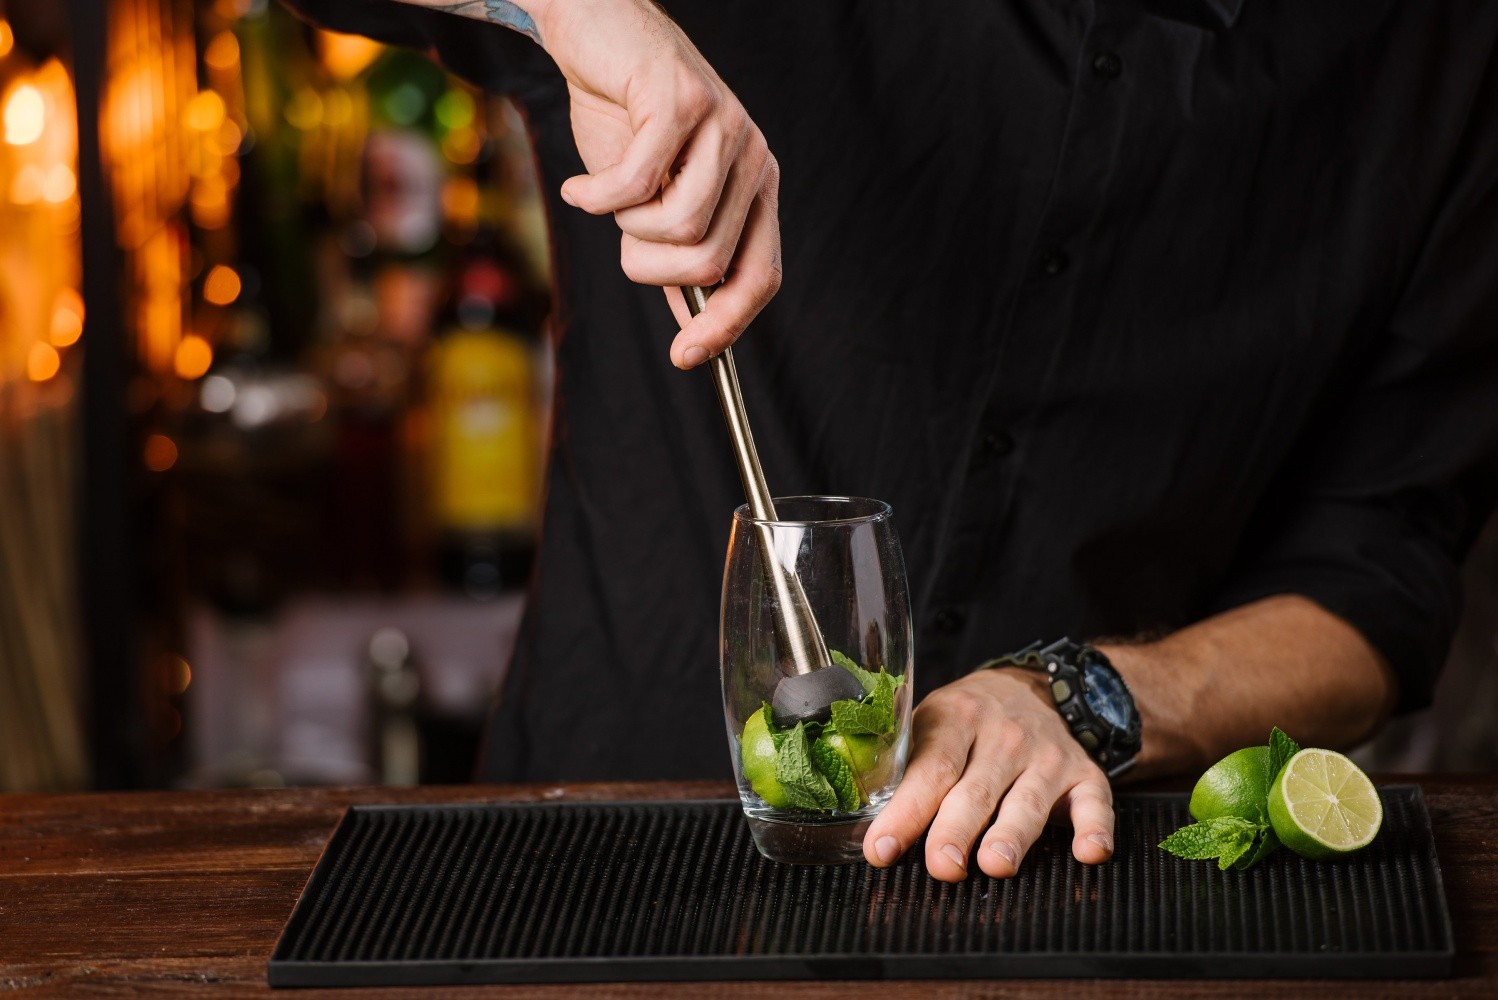
When it comes time to mash fresh berries, citrus wedges, or any herb, you’ll need a muddler to “muddle” (mash) it all together. They’re pretty straight-forward, so just find one that is long enough to reach the bottom of the shaking tin you’ll be using that feels comfortable in your hand.
A few notes to look for and to avoid; we prefer the stainless steel or heavy plastic muddlers, because they are easy to clean and extremely durable – even the cheapest ones on the market. However, if the wood muddlers are more your style, do NOT get the ones with lacquer, varnish, or any sort of paint on it. It seems fairly obvious, but we still see them on the market and used regularly. If you’re wondering “why not?” well, often times when you’re muddling, you’ll bump the edge of the mixing/shaking tin or if you’re one of those Bartenders who muddle with ice (please don’t do that), the edges of the tin or sharp ice will chip away at the varnish and go directly into the drink – which is never a tasty (or healthy) garnish or modifier to a cocktail.
We like this double-sided stainless steel muddler because it is heavy enough to do most of the work for you, but still fits your hand, and has two sides – one for muddling fruit with the “teeth” and another smooth edge for muddling herbs where you want to lightly muddle and press, versus twisting and mashing fruits.
Shop Muddlers HERE.
Pour Spouts:
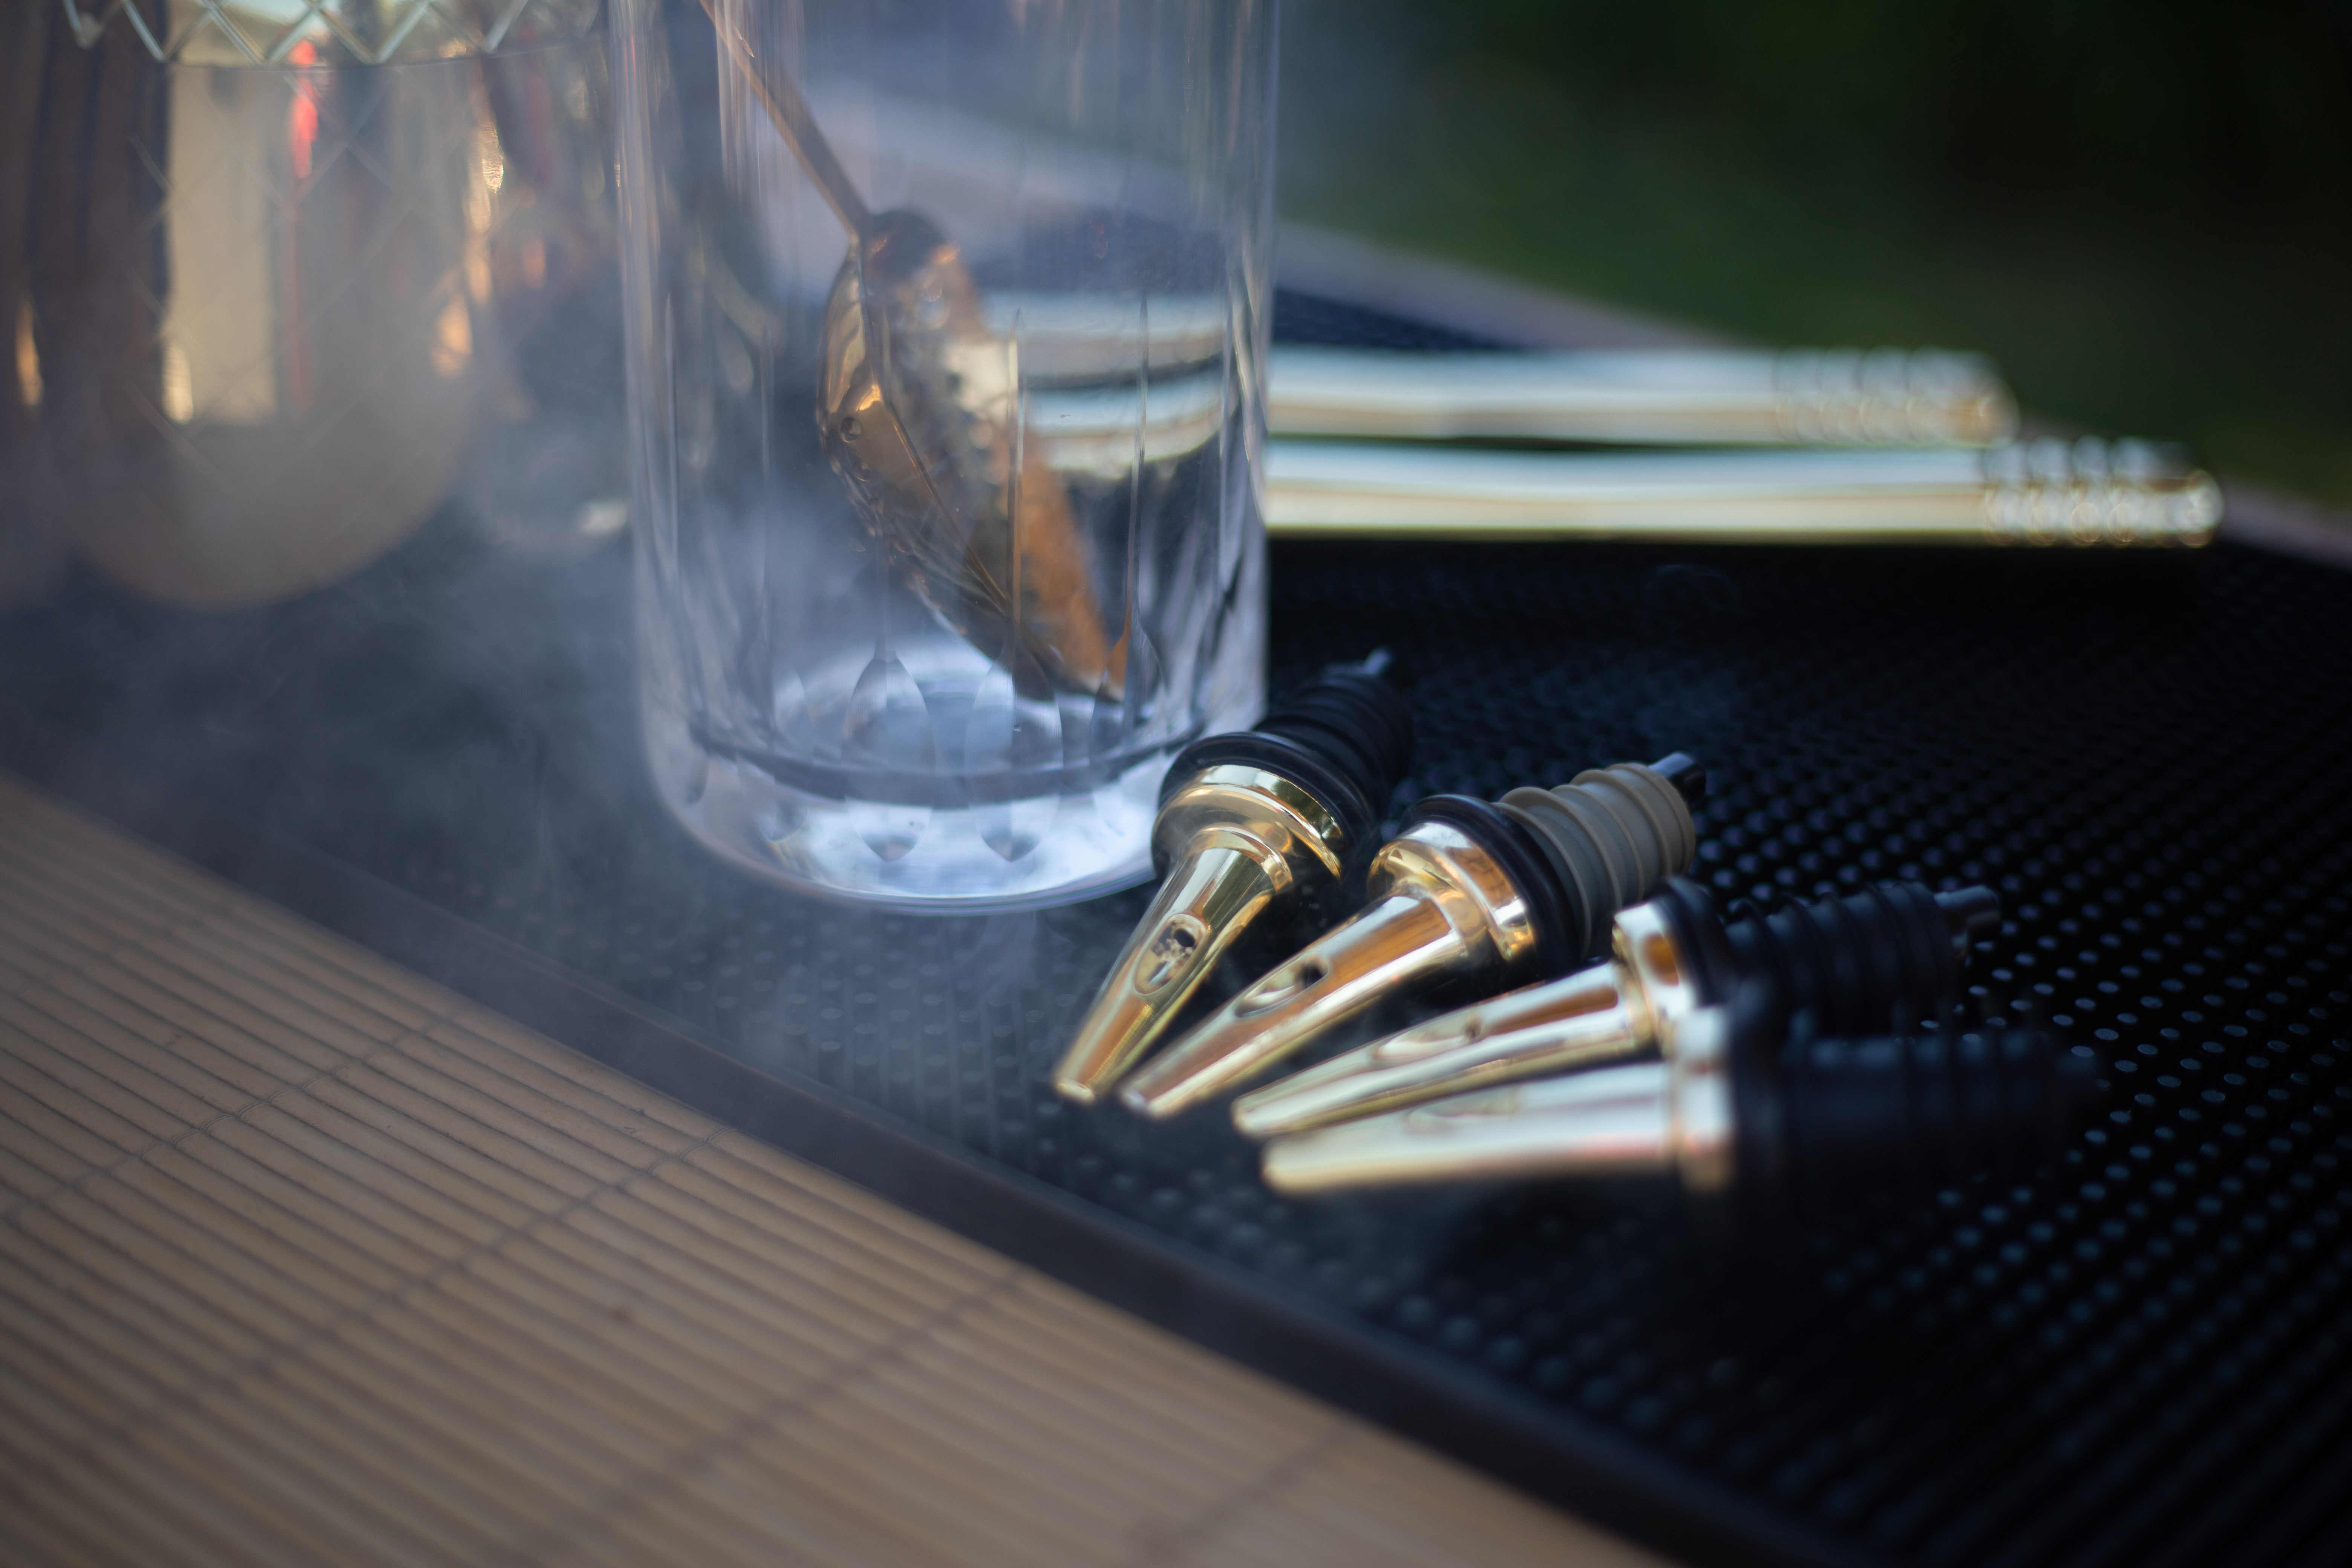
Regardless of whether you will be free pouring or jigger pouring, a quality pour spout will give you a consistent flow and help prevent spillage, shaky pouring, and a much more controlled and accurate flow of pouring.
Keep in mind, almost all pour spouts are meant for standard 750ml or 1-liter bottles. If you will be using a larger 1.75-liter bottle, or a bottle with an odd opening, you will either need a special pour spout, transfer to a standard-sized bottle, or just be very, very careful.
Metal pour spouts are the way to go if you ask us. They are a little bit pricier, but not by much – and they have a more consistent pour, look much better, reduce air pockets, and are easier to use for floating liquors.
Shop Pour Spouts HERE.
Ice Scoop or Tongs:
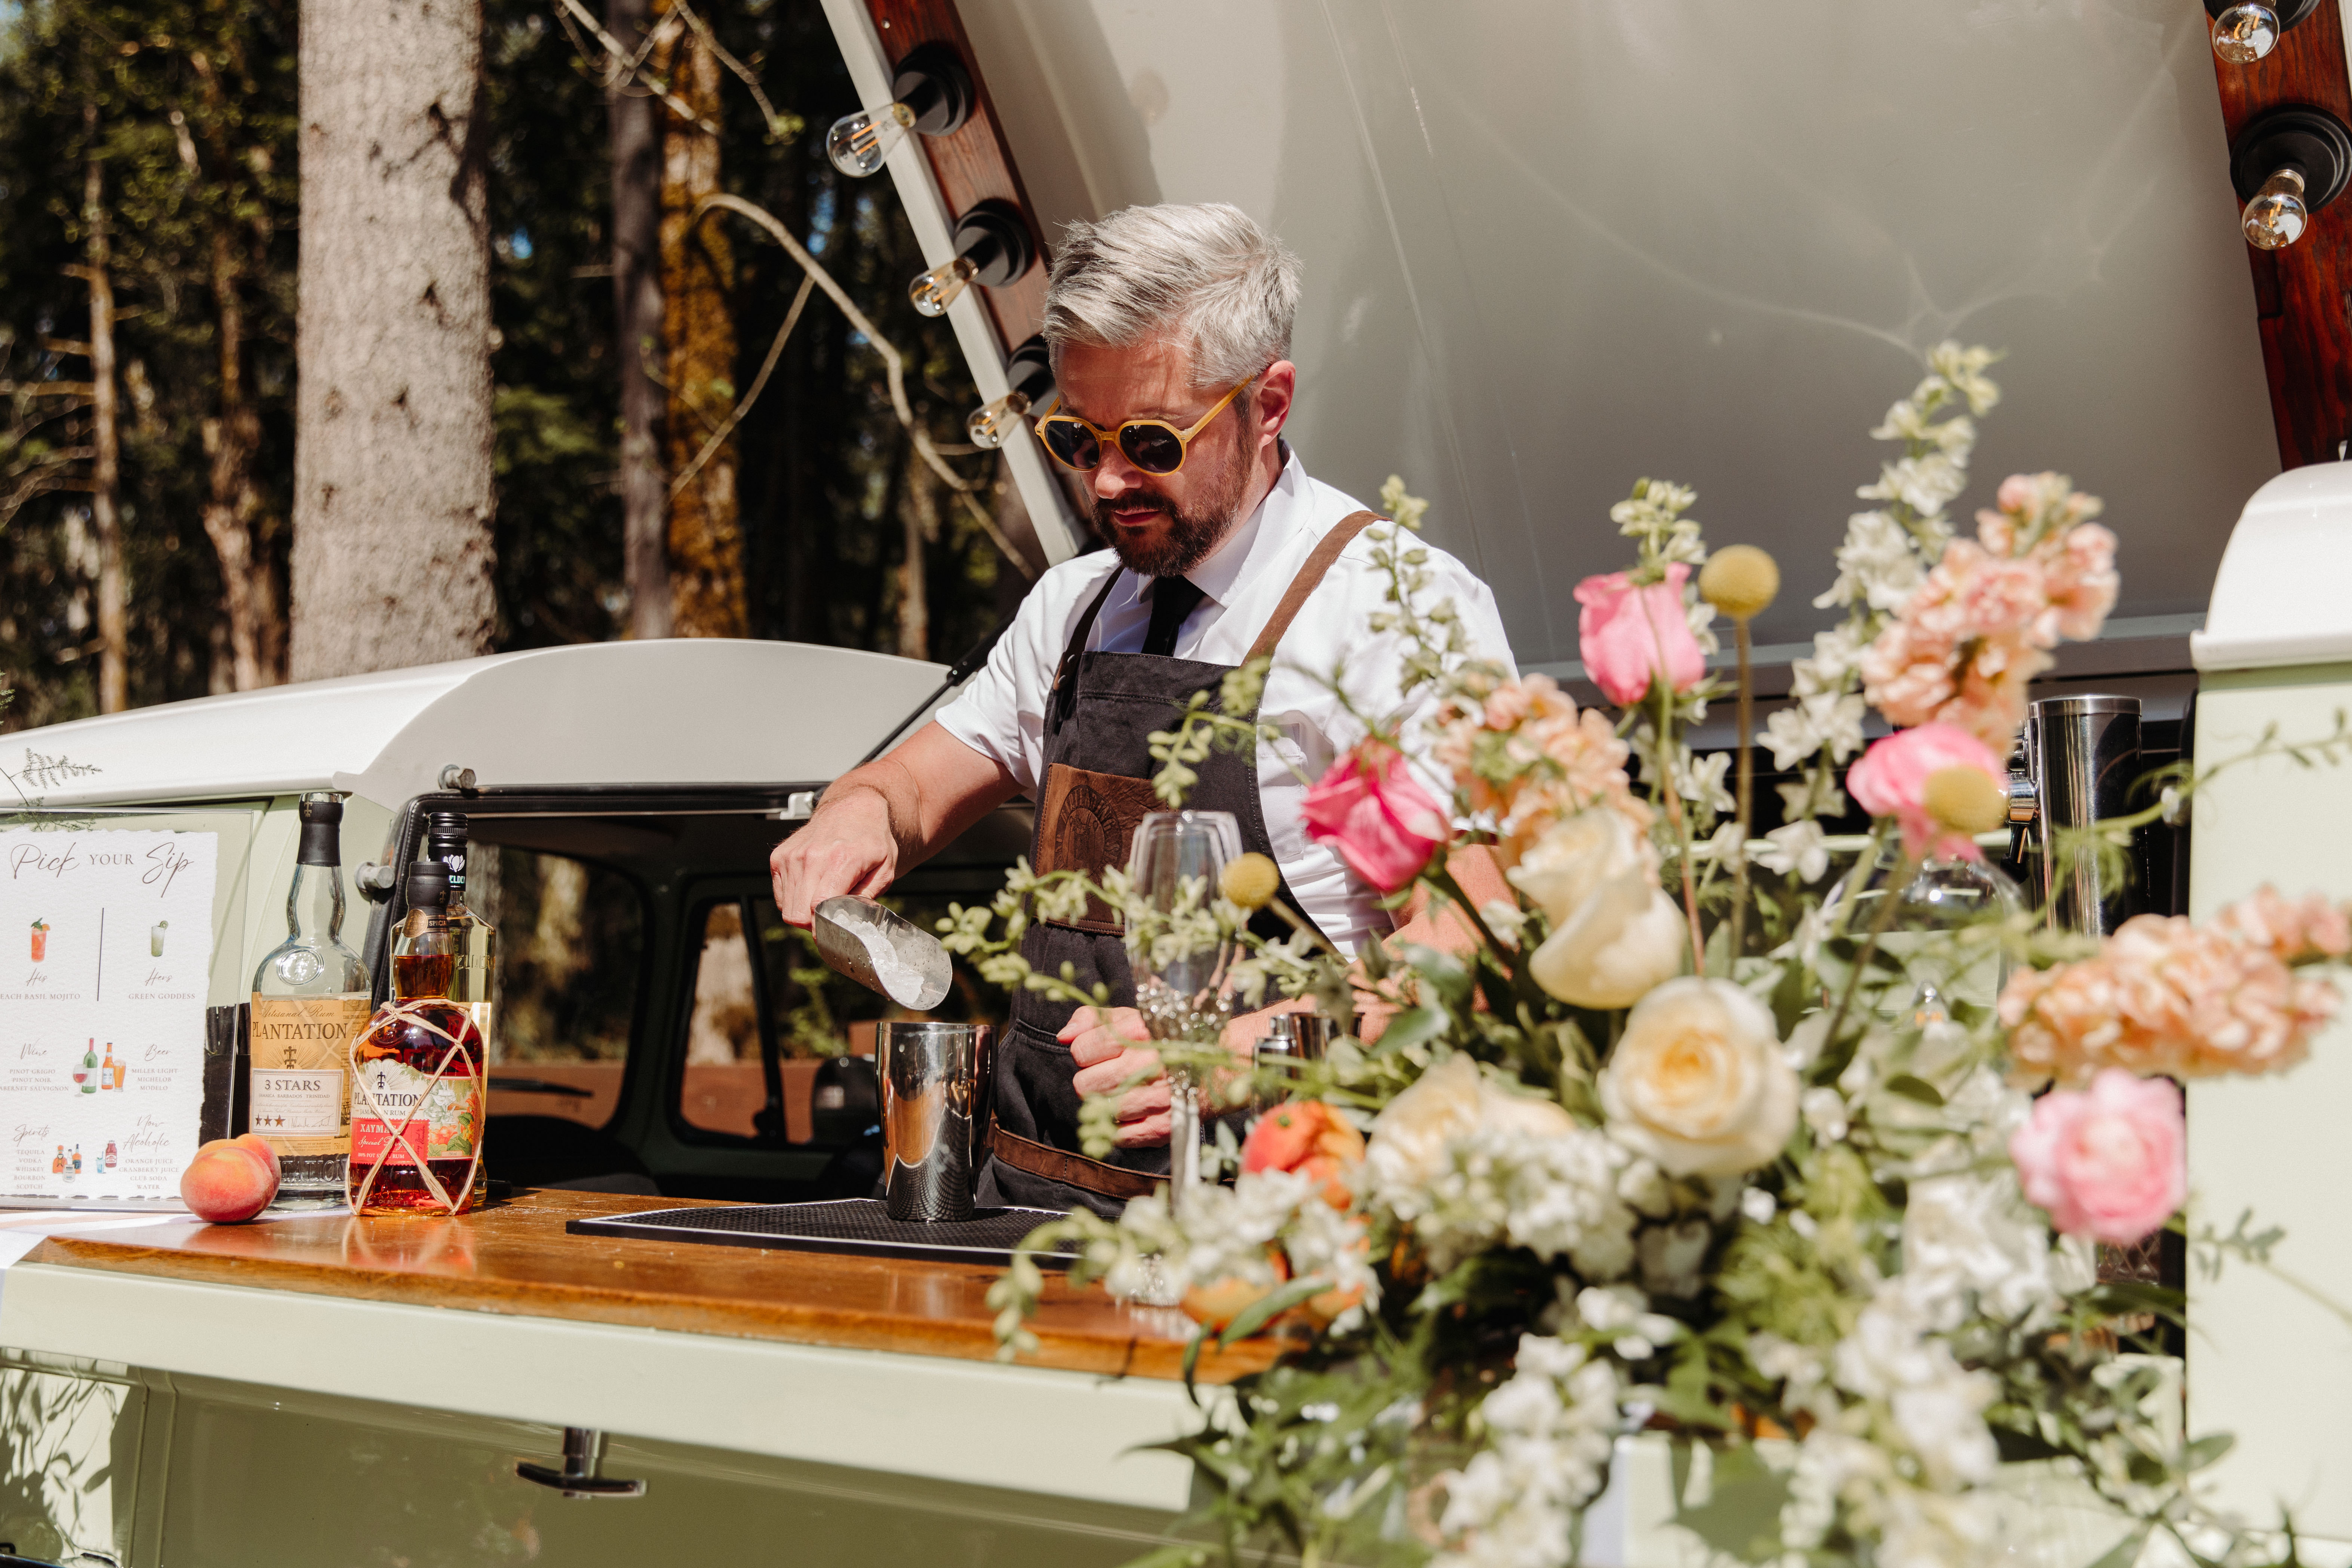
So, we’re going to breeze right over the obvious Ice Bucket that go with the Ice Scoop or Ice Tongs, only because the needs can vary drastically depending on if you’re in a permanent bar, a home bar, a trailer-style mobile bar, a compact VW Bus Bar, a wooden satellite bar, or just a folding table with linens. Whether you need a built-in ice well with a drain, a small bucket, a cooler, or large ice bucket – just make sure it is food grade metal or plastic and can be easily cleaned and sanitized.
Now, on to what you need with the ice bucket; an Ice Scoop or Tongs. Ice Scoops you will need for standard-size ice cubes or pebble ice – the most common type in bar settings, and tongs are better for larger ice blocks or if you have a smaller ice bucket for at-home bartending and can’t do the “scoop” action.
Make sure your scoop is durable metal – not flimsy plastic or aluminum if you don’t want to regularly replace it – and can handle being slammed into ice repeatedly. We like the 6-10 ounce Metal Ice Scoops with holes especially in a mobile setting because if there is any excess water in the ice bucket, you only scoop up the ice itself and don’t fill the drink with water.
Shop Ice Scoops HERE or link above.
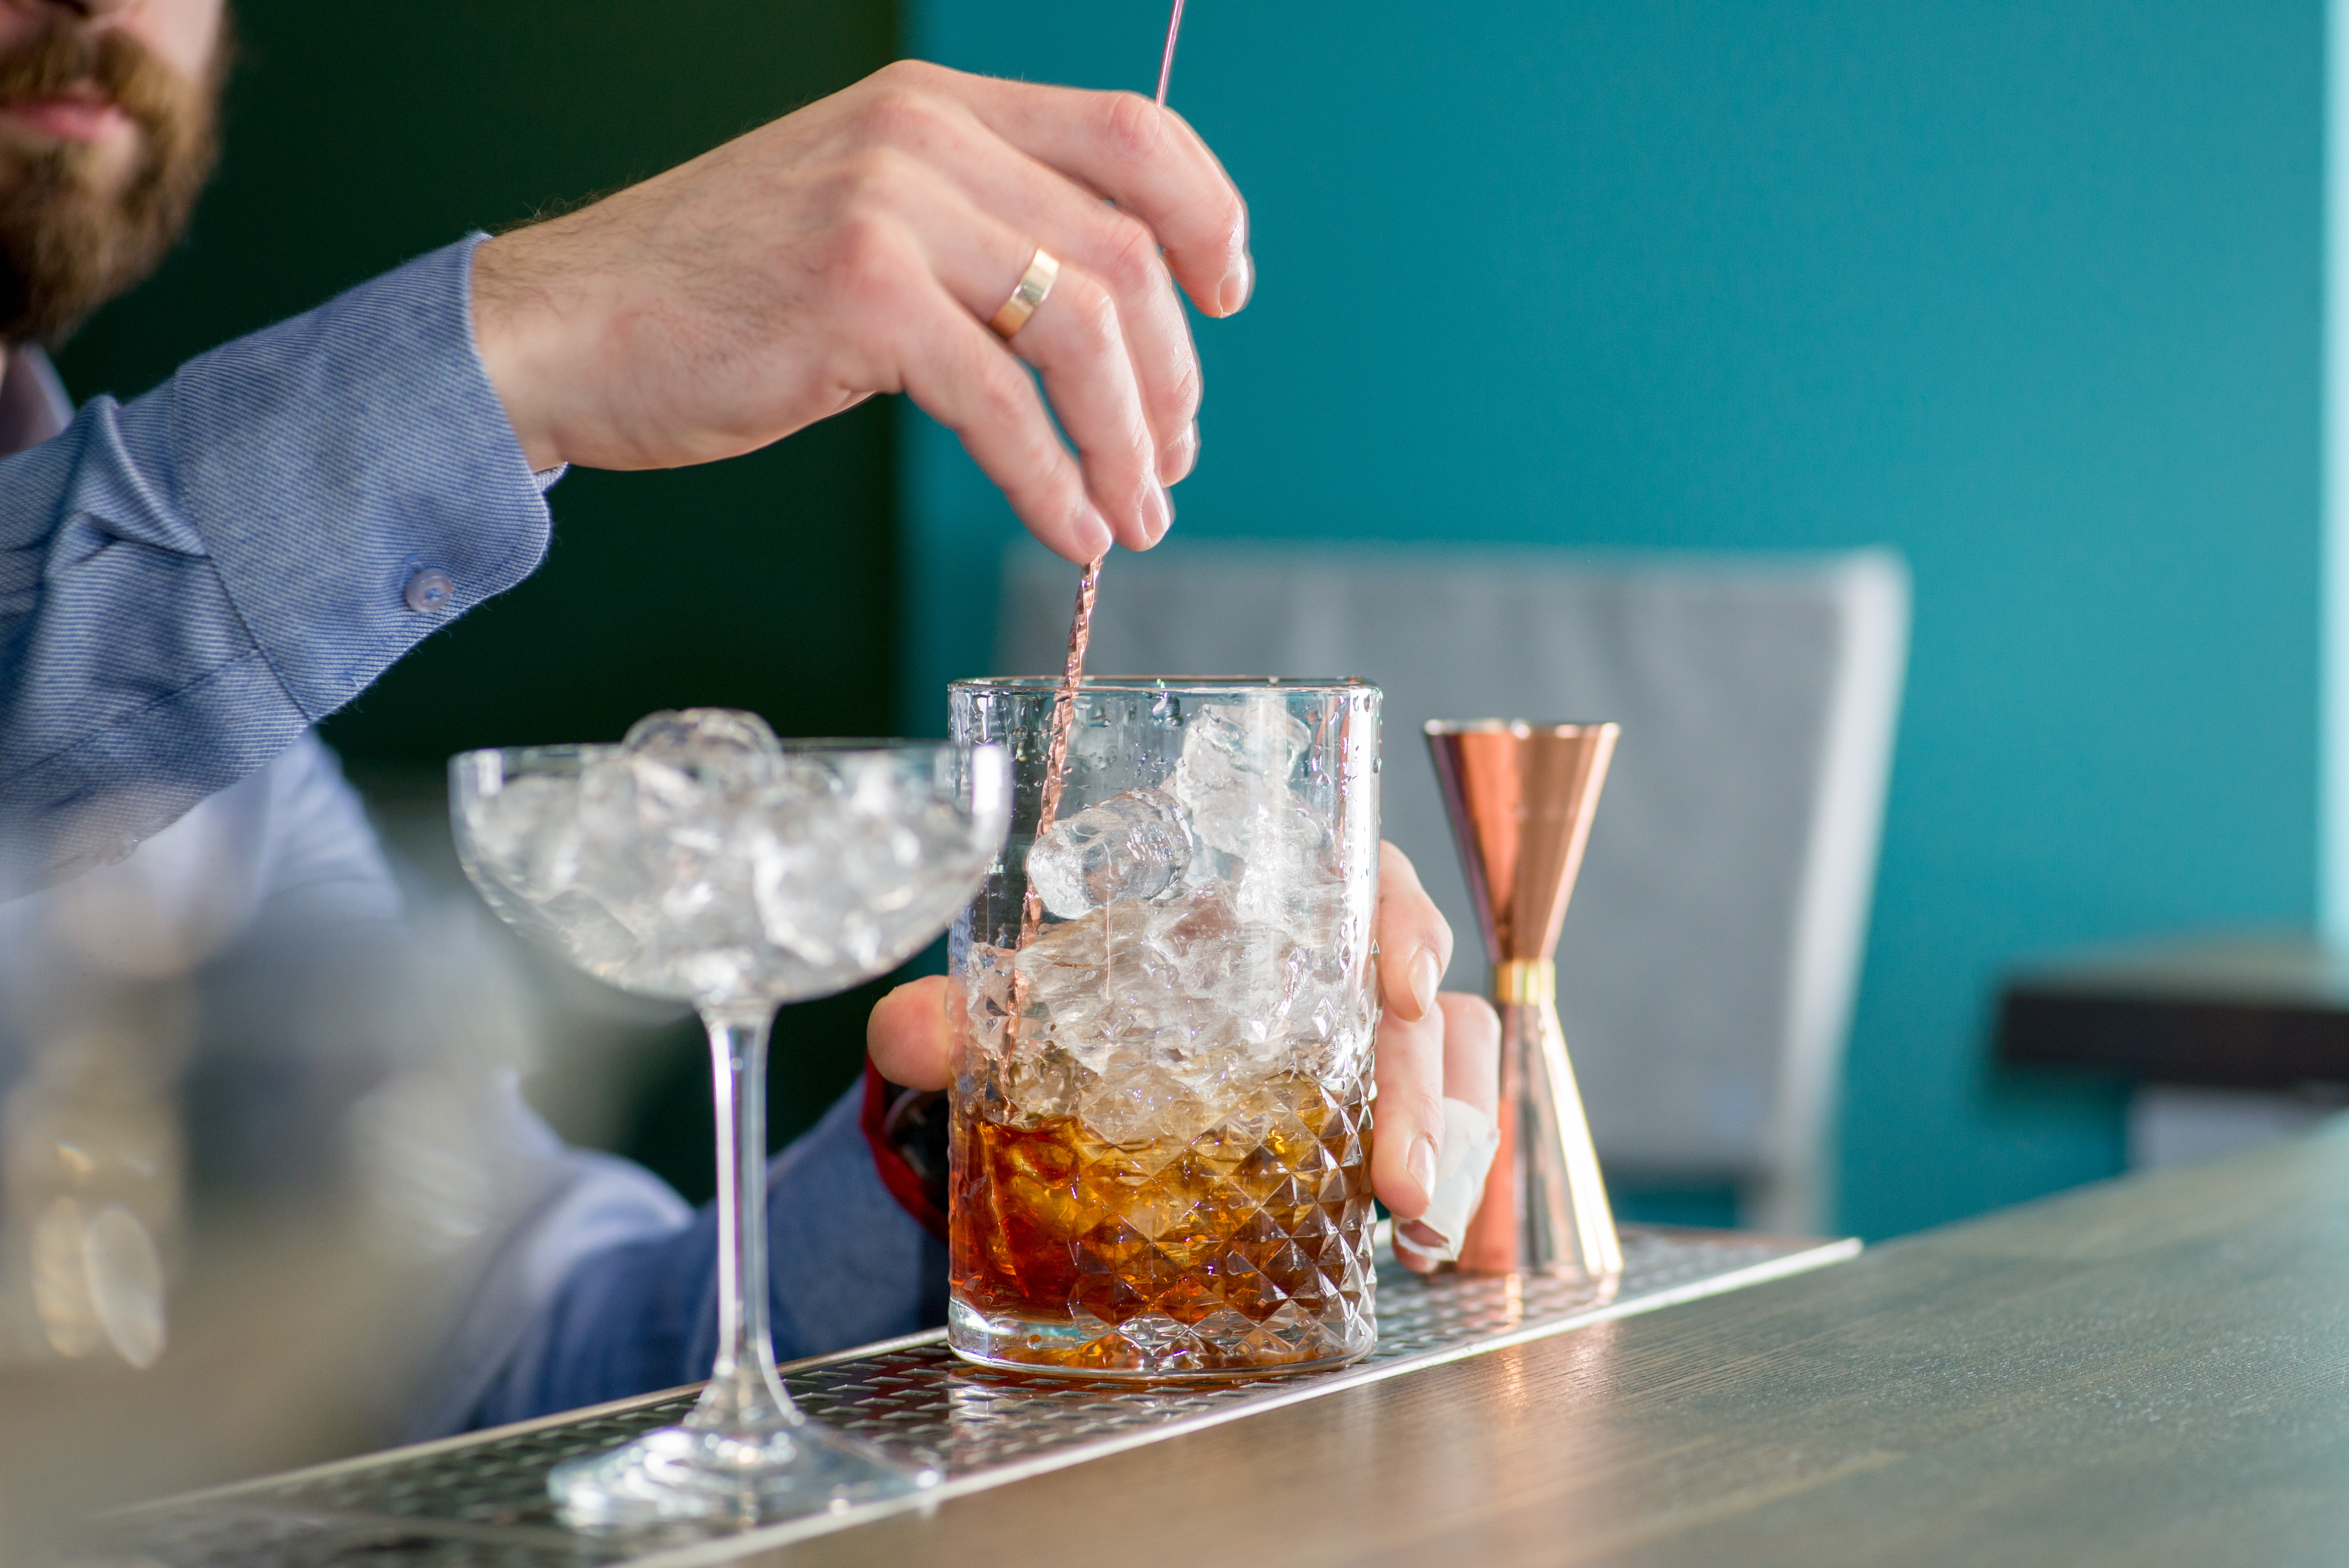
Mixing Glass:
Once you get to the more advanced cocktails, or if you prefer spirit-forward cocktails (think Old-Fashioned, Manhattan, Negroni, etc.), you will often see the recipe calls for the ingredients to be stirred over ice – not shaken. In order to stir a cocktail, you’ll need a quality mixing glass. Any glass will do (I’ve had to even use a shaker tin before to stir a cocktail), but if you have a glass specifically meant for mixing, the presentation of making the drink will be much more professional and the stirring itself will be much easier.
As noted, these are used for cocktails where you don’t want as much dilution, like spirit-forward cocktails, cocktails without any (or little) citrus, or even just guest preference.
If you decide to add on the proper mixing glass, go with whichever fits your budget and your desired look – as they all essentially are the same (some are just better quality glass, design preference, locally-made, etc.), just make sure to get a 20-24oz. Mixing Glass with a creased pour spout.
NOTE: Although a Hawthorne Strainer will work with many mixing glasses, a traditional Julep Strainer is something to consider pairing with the mixing glass if budget allows – because they typically work a bit easier together.
Shop Mixing Glasses HERE.
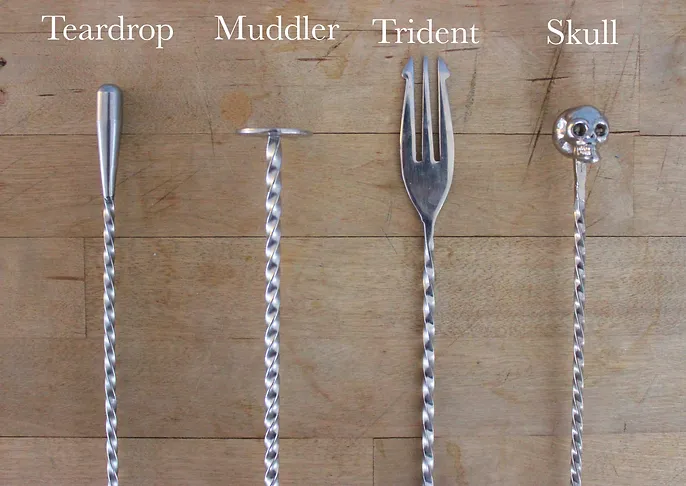
Bar Spoon:
You have your mixing glass to stir your cocktails – so naturally you need a bar spoon to do the stirring. In addition to stirring, they are used for scooping cherries, cracking ice blocks, muddling herbs (with some bar spoons), assist in layering drinks, or as a skewer.
There are 5 types of bar spoons – all have a spoon on one end and then a different tool on the other end; the weighted “teardrop” style, to help balance the spoon while stirring, the muddler style with a flat circle to help muddle herbs, the trident style to use as a skewer, decorative style to showcase your style and doubles as a weight like the teardop style, and the “red cap” spoon (I’m only linking this, so you can see what to avoid – you do NOT want this spoon, even though you’ll see it at many stores and even some bars).
NOTE FOR MOBILE BARTENDERS: We’ve found these extendable/retractable bar spoons that have been really great for us. In a mobile setting, especially if you don’t have a large trailer with space, carrying your tools, along with all the other supplies, can limit space, so these will fit in any tool bag and are very compact. Although the shaft is straight and not twisted into a coil (see note below), it still works great.
Don’t get too tripped up over what type you want – the TWO main things you want with your spoon is to have a tight coil on the shaft (this is mostly why the red cap spoon is so bad) and that it is long enough to reach the bottom of the mixing glass. The rest is just what you prefer. When first learning to use a bar spoon, and the “push and pull” technique, sometimes an untwisted “straight/smooth” spoon is easiest to learn with – but they aren’t as easy to find, and loses some of the traditional layering functionality.
Shop Bar Spoons HERE.
Jigger:
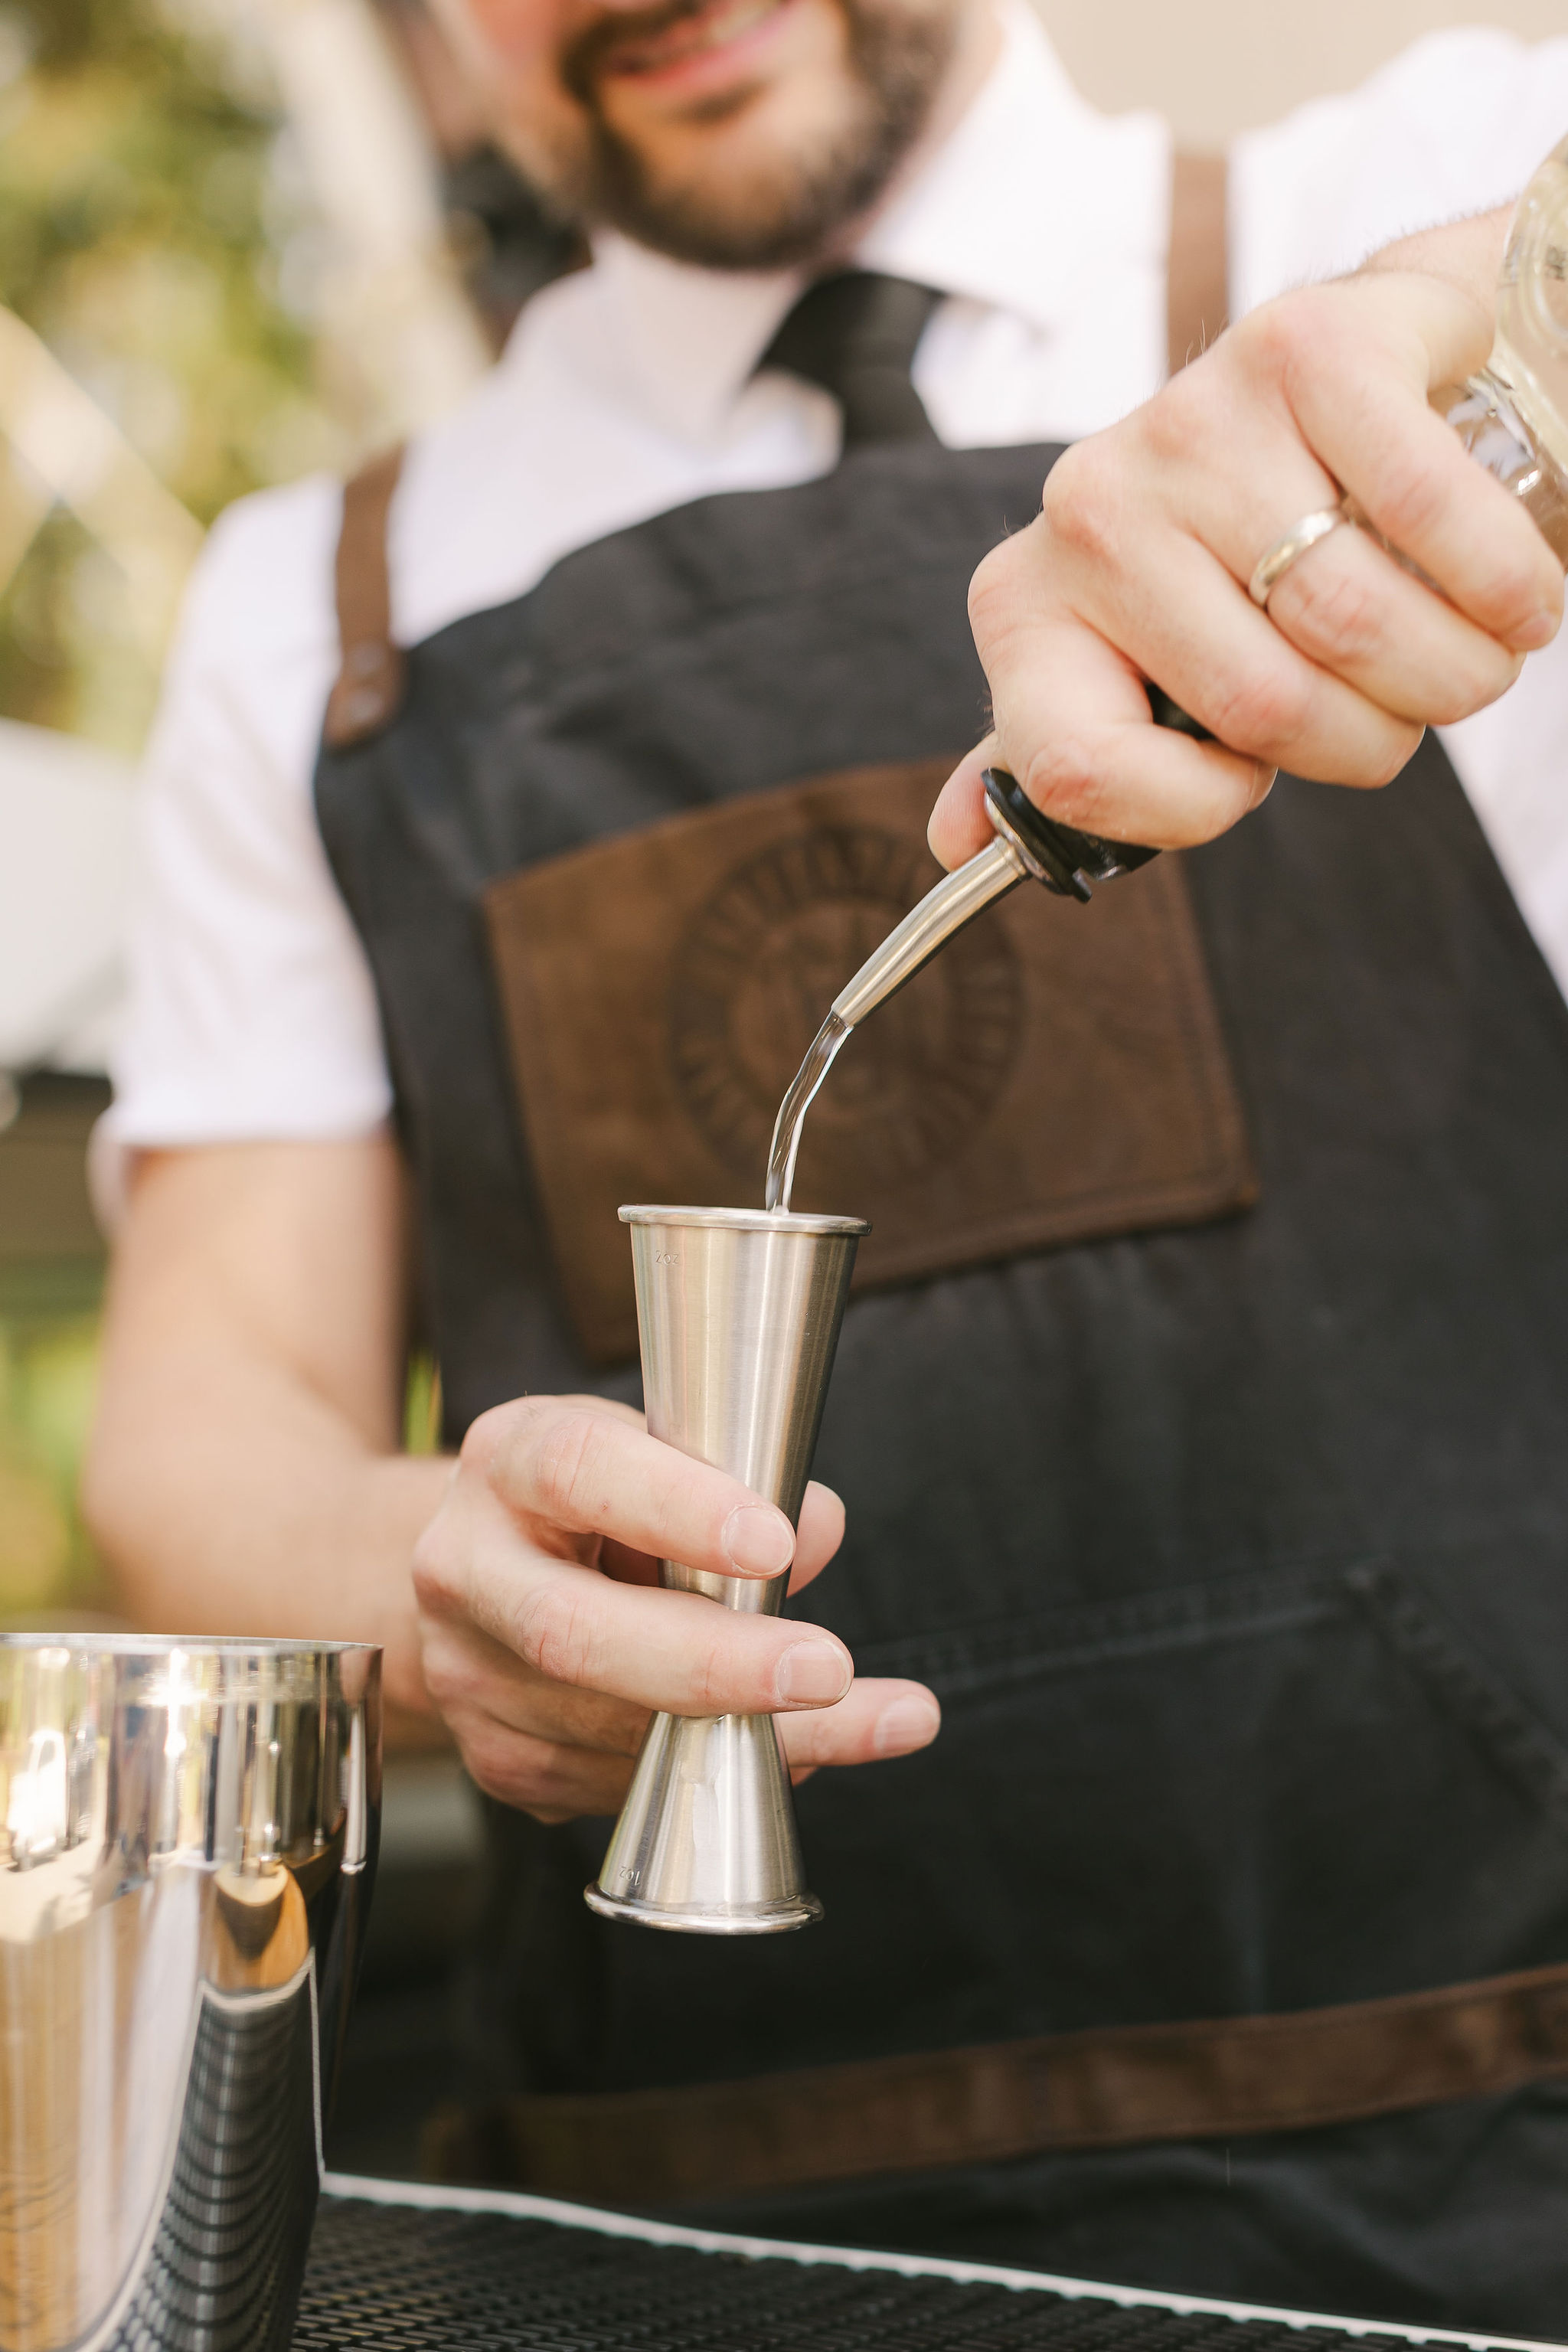
How much is an ounce? How about quarter of an ounce? What about an international recipe that uses mils? With a jigger, you’ll know exactly how much you’re pouring every time. If you’re making a simple two-part cocktail (i.e. whiskey coke, or vodka cranberry), you can fudge a little more based on your preferences of spirit-to-mixer ratio, however, if you are building a multi-part cocktail with a base, a few modifiers, and a mixer – you want to make sure you are balancing the cocktail as intended.
Whether you are pouring from a bottle without a spout or with a metal pour spout noted above, having a jigger on-hand helps make sure you are following the recipe correctly – whether it’s one you read in a book, or one you created on your own. Consistency is key.
Admittedly, we have nearly perfected our pour count, so we don’t always use a jigger – but it is definitely a good tool to have especially when you don’t have a pour spout, are pouring from a large bottle, or just need to make sure your measurements are perfect – so we do still use one even after 15-years in the industry.
We like the double-ended elongated Japanese-style jiggers for their overall look and handling, but there are a large variety to choose from that fit your preference. We typically will find one that is double-sided with different measurements on each end (i.e. 1-oz. and 2-oz.) and has fractional marks included.
Shop Jiggers HERE.
Shop the Kitsap Bartending Services Amazon storefront for complete Bar Tool Kits, more Mobile Bartending Supplies, and more Books!
Cutting Board + Knife:
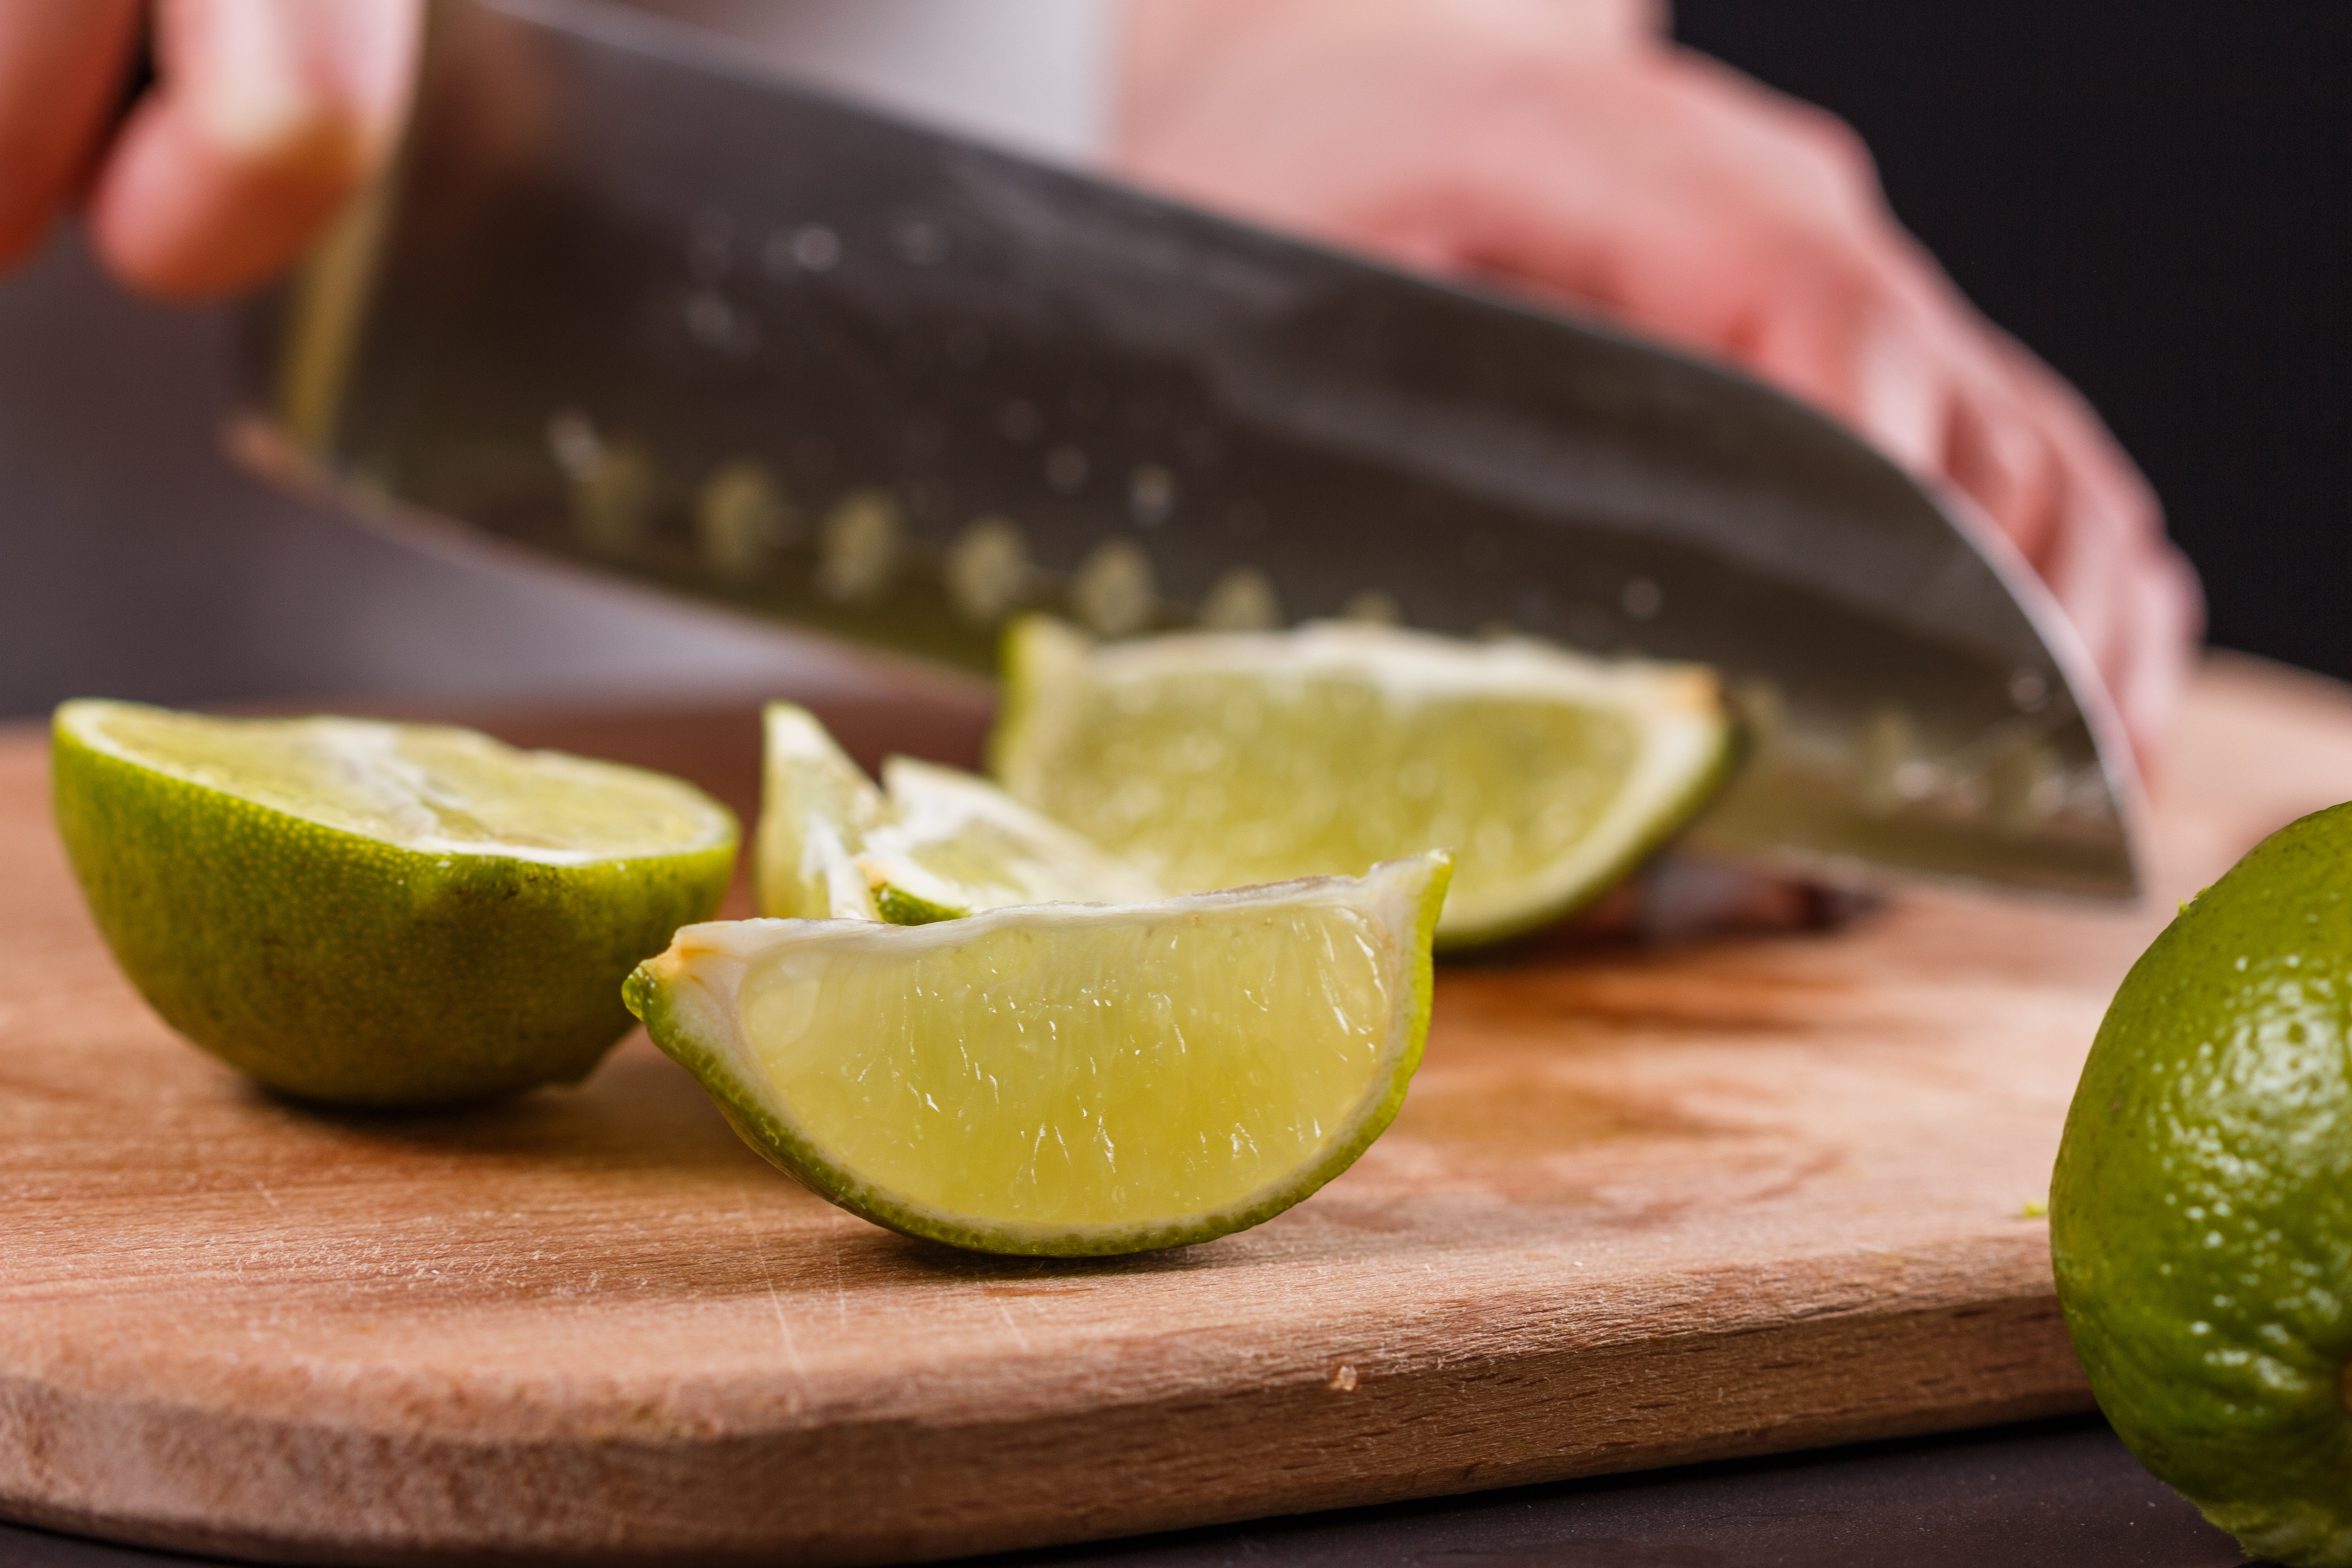
You’ll need to cut fruit for muddling, squeezing, or for garnishes. You probably already have a cutting board and knife, so use what you have if you spent your budget on the other items listed above – but once you’re able, make sure to find a really good paring knife for cutting up garnishes, or a larger very sharp knife to cut wheels or wedges of citrus. You’ll want something very sharp and is of high-quality – cutting citrus repeatedly will make a low-quality knife dull quickly and your cutting will take much longer and look extremely sloppy.
I like the Henckel Knife Brand, and a cheap plastic, light-weight and easy-to-clean cutting board.
Shop Cutting Boards HERE + Knives HERE.
Citrus Peeler + Channel Knife:
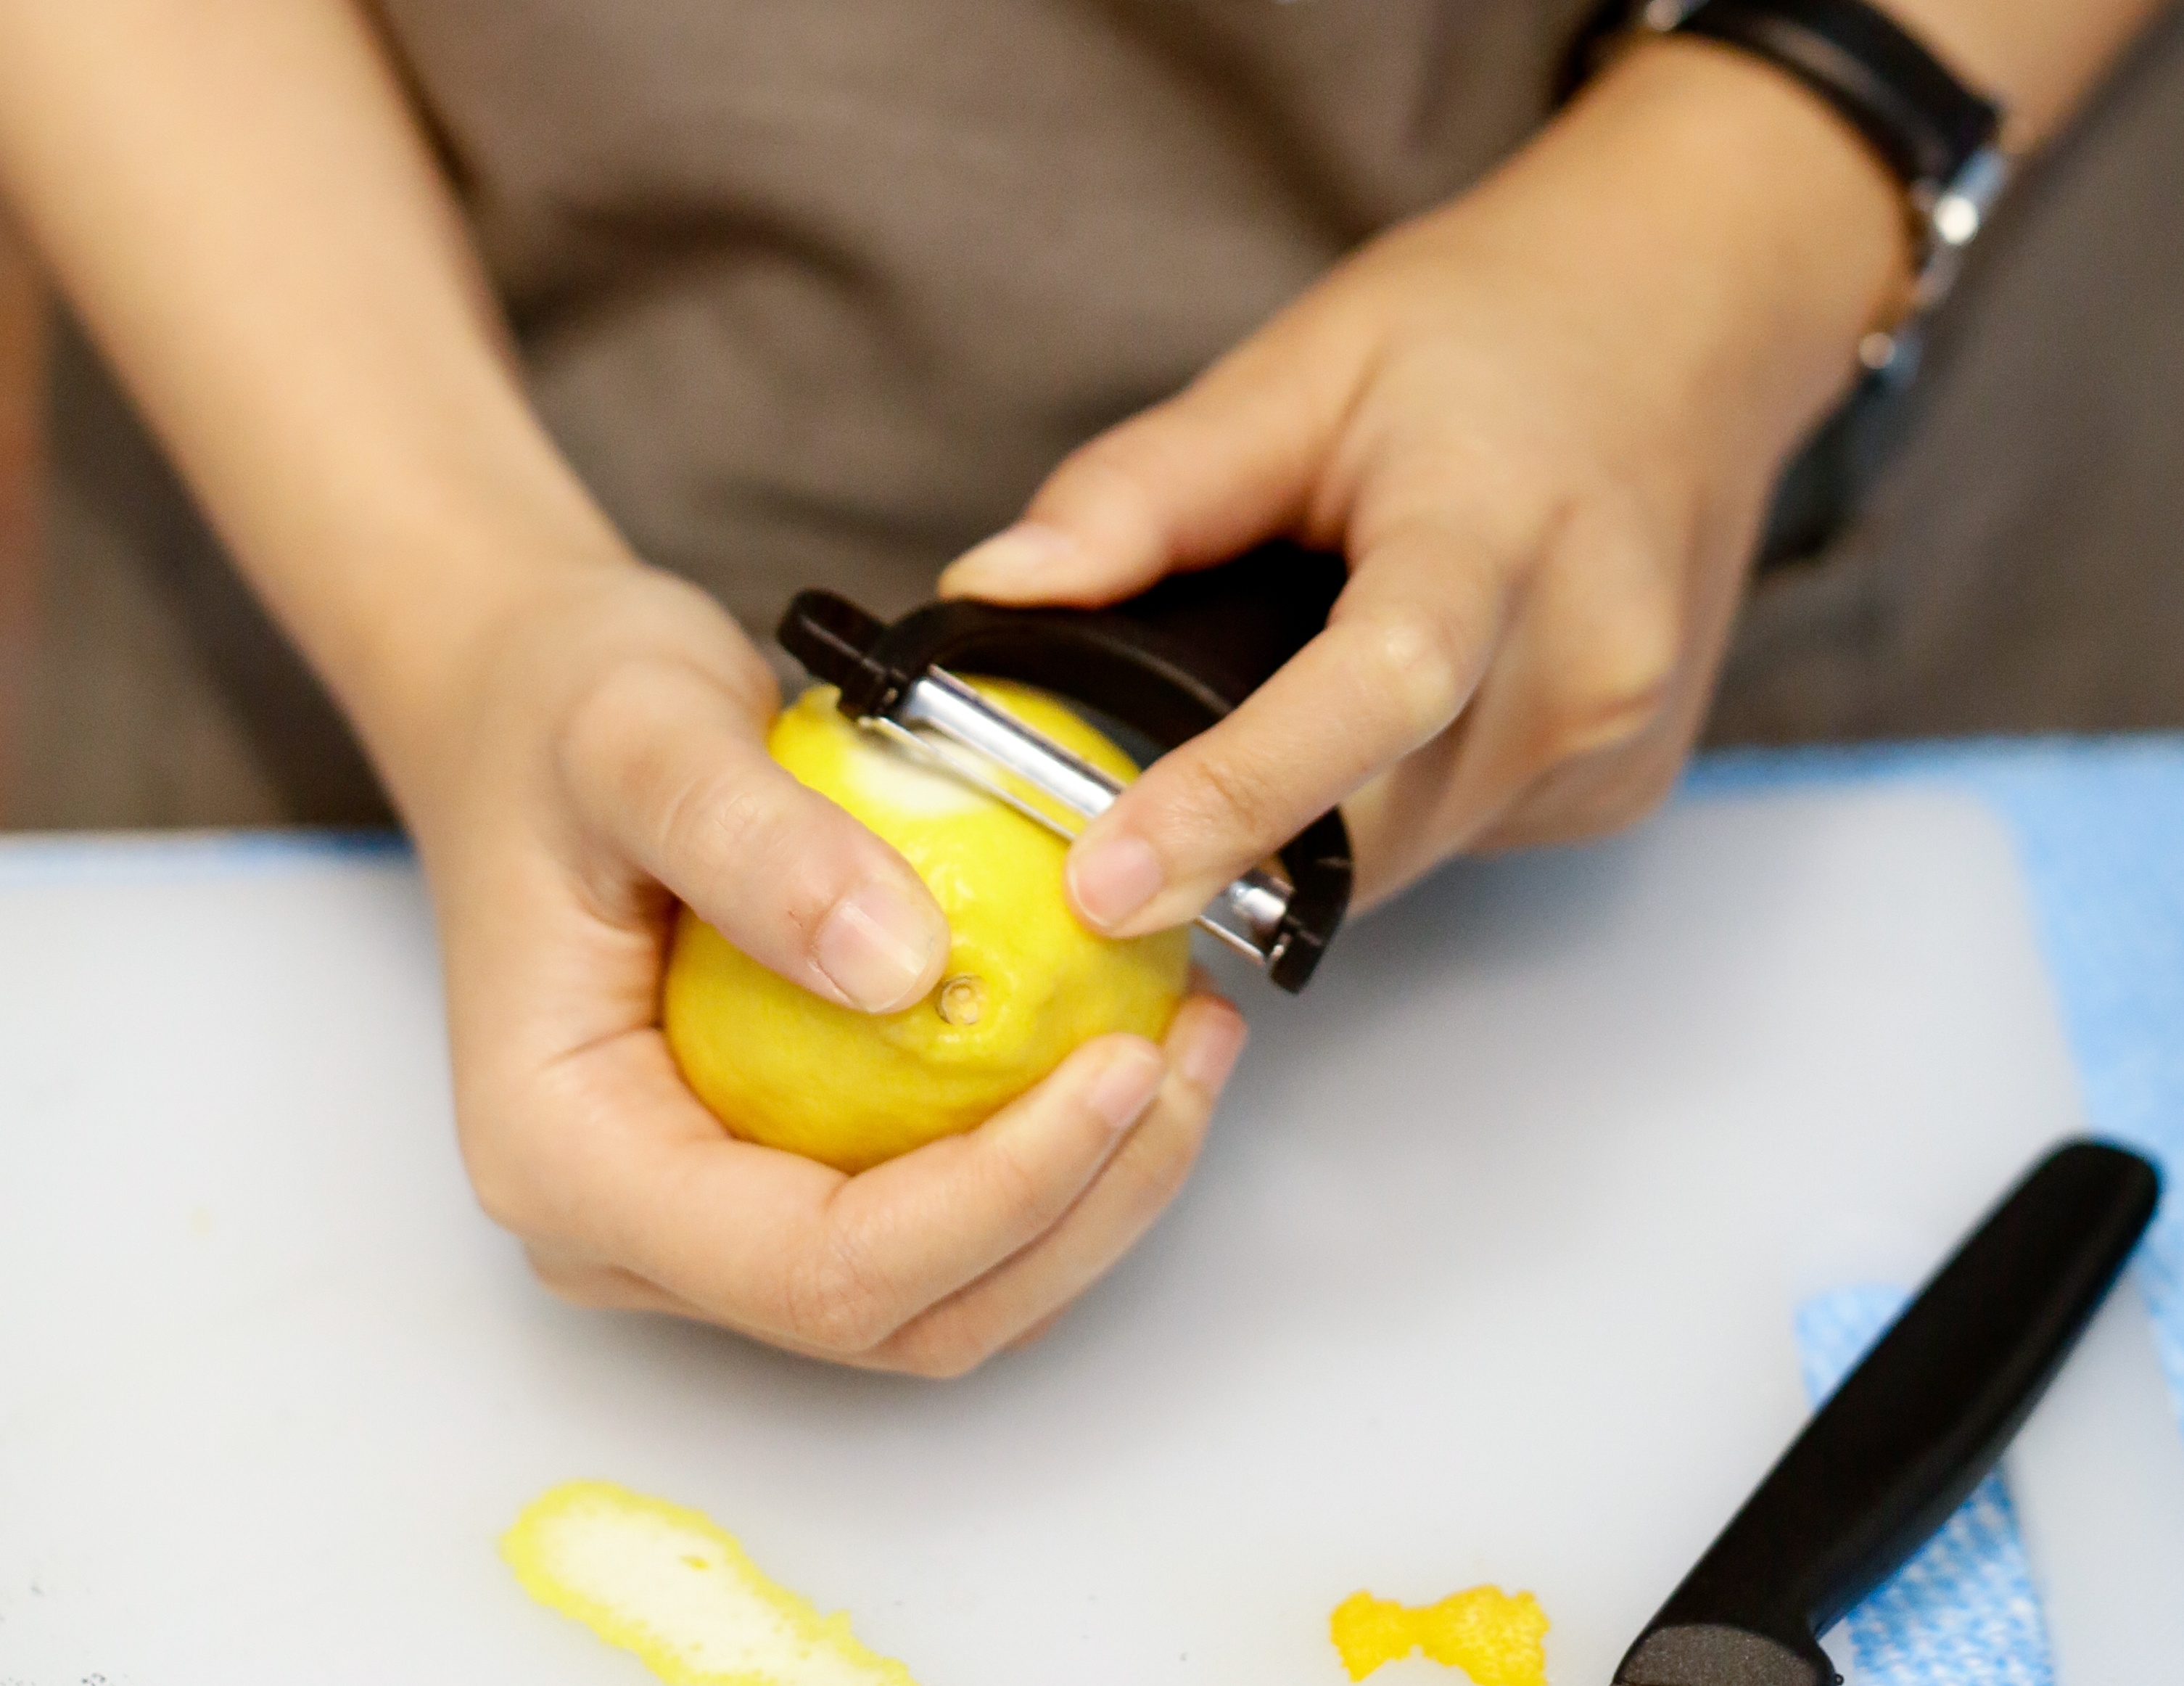
As a left-handed Bartender, the Y-shape citrus peelers seem to be the only ones that work well for me, however, they also work with the “other” handed people. Plus the added bonus, a Y-shaped peeler allows you to use the standard “pull motion” instead of having your hand sideways and doing the pull with your fingers. It’s hard to explain if you’ve never done either, but once you peel with both, you’ll know what I mean.
Many peelers often come with a Channel Knife attachment to cut twists (the long skinny peels). I like the Titan Peelers because they’ve been the best for slicing a small citrus coin, a longer peel for cut garnishes, or you can use the attached Channel Knife for the twists. They cut into the peel with ease – unlike many other brands – and stays sharp. The pack always comes with two – another for Julienned vegetables, but I just put that in the kitchen and use it there – to me the Titan brand is worth the additional cost on a regularly-used tool, and the second Julienne tool is just a bonus.
Shop Citrus Peelers HERE.
Bar Books:
Don’t forget, being a skilled Bartender, isn’t just about knowing how to use it all – it’s also about practice. So be sure to study, practice, and find your bartending niche – whether it is just at home for yourself and a few friends, a mobile Bartender for weddings and events, or to work in a traditional bar.
Other Tools:
Other key tools for bartending; Wine Keys, Beer Bottle Openers, Keg Bags (for Mobile Bartending or Home Brewing), Bar Apron, Fine Mesh Strainer, Rolling Ice Chest, Beer Line Keg Cleaning Kit, Store n’ Pours, and Beer Line Cleaner. You can find them all and read descriptions in our Amazon Storefront HERE.
Feedback:
Do you feel we missed something? Or was this helpful? Be sure to let us know below in the comments – we’d love to hear your thoughts on this list.
Shop the Kitsap Bartending Services Amazon storefront for complete Bar Tool Kits, more Mobile Bartending Supplies, and more Books!


These are important tips when hiring a mobile bartender for wedding or special event.